I know, we have Christmas in summer here in Australia, this year they promise a cool 30c rather than the general 40+. I don’t know if it’s because I am a child of tradition, or my age but I love to think of snow. Perhaps it’s because I love cold weather – the food, the clothes, the snuggling, the games, the reading etcetera. Whatever the reason and because of both I wanted to do a gingerbread home this year – just for whimsy. Whimsy is an important thing -you better not pout (with reason or logic) it’s your heart calling, and when your heart calls you better listen. When Nessie was growing up, her beautiful older cousins Kim and Lisa took charge of the GBH. They provided all the lollydom that she missed out on at home, and I’m incredibly grateful. Not for the lollies in all their chemical and fake glory, but the experience, the daringness of it all and the connection (even now her cousin Fran sends her a text the other day with a picture of the kids making a GBH with the caption ” look Ness, real lollies”). I’m pretty much of the belief that it’s actually not about the lollies, but the experience and if you provide your makers with enough fun, they will be very very happy indeed. Can I say a word about ‘wholesome’? I don’t belive that means no sugar – I believe it means close to it’s natural state as possible, moderation, connection, fun and deliciousness.
So let’s get to it.
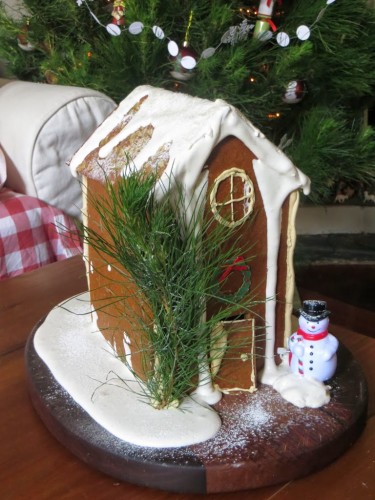
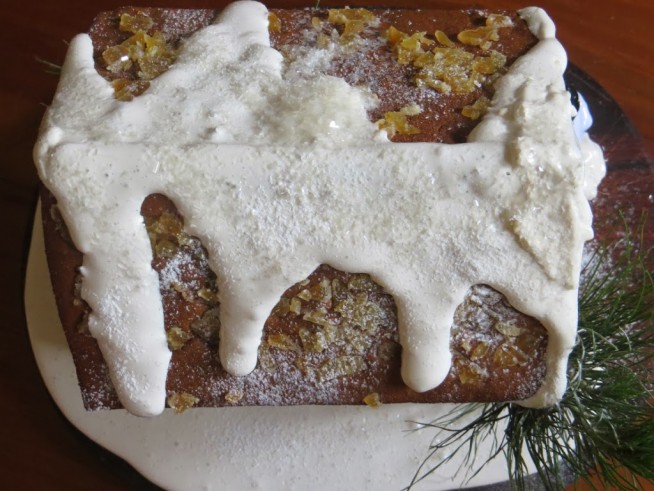
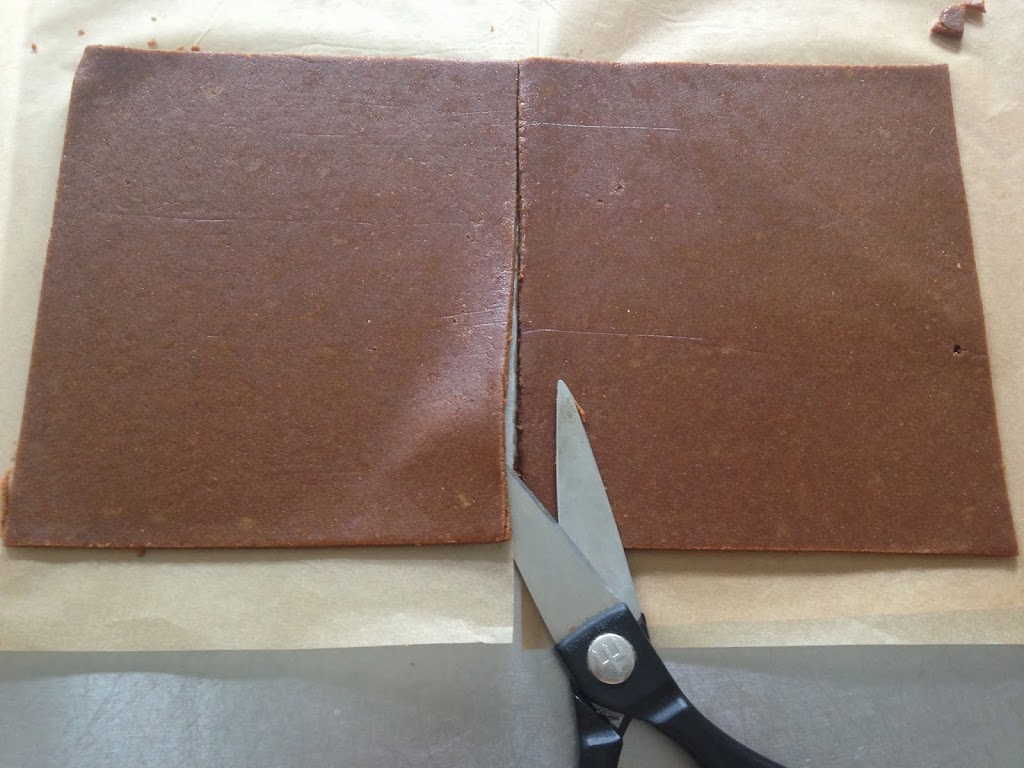
I’ve chosen to use whole ingredients with a minimum of whole and semi refined sweeteners (namely rapadura, golden icing sugar and brown rice syrup). The home is built on a wholemeal spelt base with rapadura sugar – if I was in the U.S I would have chosen maple sugar as it would give an amazing flavour. I’ve made the royal icing glue using the Billingtons Golden Icing Sugar – a semi refined sugar which I love (in Australia it’s available in many supermarkets, even Woolworths). Because it’s semi refined, it will come up brownish when made and you can see that beige tone in the glue along the side of the walls. Because of this, I’ve not used this icing for ‘snow’ on the roof, or indeed even sprinkled it to resemble snow – as soon as it absorbs a touch of moisture it will be brown. SO, I thought I’d try marshmallow and very happy with the final result. I chose to press crystallised ginger (I bought some without sugar around the edges) onto the roof panels, and love the end result – and the more ginger for me the better. Children might not like to eat that, what about some roughly chopped pecan or walnut? Something just gives it a wonderful textural, roofy effect. I sprinkled cornstarch over the entire house for snow, and found some shiny cake sprinkly things in my pantry and gave it a touch of that also. You can see I was lazy and didn’t make windows – that’s easy to do if you would like, but with children involved, I would recommend you keep it simple.
Before we get started, I want to say to you how much I’ve enjoyed meeting you this year as I travelled with my new book Wholefood Baking, and through facebook and instagram. I spoke to a woman called Lisa from Sydney the other day who had rung, to ask which book she thought I should buy her friend for her birthday. In talking she said that her very, very fussy mothers at playgroup don’t blink when she brings and says ” this is a Jude cake / dish”. Please know I understand that trust given, and thank you for having me in your kitchen and home, and know I consider it a deeply meaningful honour and privilege. Blessings to you and your loved ones for a beautiful Christmas season and blessed 2014.
x Jude
PUTTING THE HOUSE TOGETHER:
It is best to make the royal icing and glue the house together first, THEN start on making the marshmallow. The Gingerbread pieces must be absolutely cool before using. Decide also what you are going to put it on – I have simply used a chopping board.
You can find the Gingerbread recipe below, the Royal Icing /Glue recipe below, the Marshmallow recipe here with a few extra notes about it below, and you will also need 1 tablespoon cornstarch for the snow.
Place 2/3 royal icing into a large piping bag fitted with a 5 – 7mm nozzle.
Start by piping a good amount of cement along the sides of the front and along the sides of the side panel. Join together on the board – you will find you only have to hold them for a few seconds or so, and leave to ‘set’ for a couple of minutes before continuing on with the back and other side panel. Make sure it is nice and sturdy/set before doing the roof. Be generous with your cement, and nothing says you can’t go along with the piping back and add more to the gaps if needed. For the roof panel, you will need to pipe cement along the top of the house sides, front and back tops and along the top of the roof panel. Place them on one at a time, and then pipe more as needed. Using a finer piping tip, use the remaining icing to decorate as needed (window’s, etc).
NEXT STEP IS TO MAKE THE MARSHMALLOW. I made the recipe in a vanilla version without the strawberries, and did a couple of different things. Firstly, replace the strawberries with water. When adding the gelatine to the water make sure you sprinkle it in and mix it until smooth – no lumps. Secondly, reduce the amount of sugar – there is no acidity from the strawberries to buffer the sweetness, reduce it to 280 – 300 – no less, or you won’t have what you need. Thirdly, I used 3 kinds of vanilla – all my favourite Heilala brand – I scraped out vanilla seed from 1 pod and added the seeds to the sugar, water, brown rice syrup mixture + the paste and extract as per the recipe. The trick with using the marshmallow to decorate was beating it for ages – easily about 15 – 20 minutes which helped it to cool and set up a bit. You can see how I used mine, but even at this stage it would still run – I couldn’t make snow banks against the house, as it just ran down so I would say practice before you commit yourself. You will have left over marshmallow (terrible I know). I’ve set mine up to use in a rocky road – you can read how to set it in the recipe.
When you’ve snowed it with marshmallow, add twigs, trees etc as desired and stick them with the glue.


