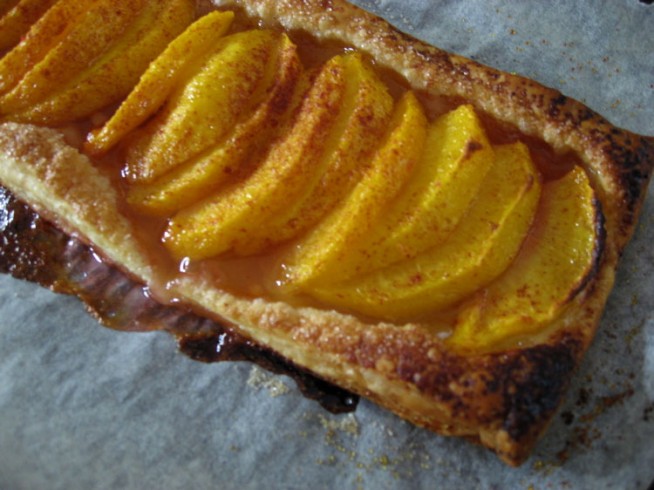
You must be wondering where I’ve gone – my blog is up, and no posts. Well – you know that desk I showed you? It’s not been looking so clear these past weeks since I posted that first blog, and the work was covering it. Now that’s all gone, new flowers are set, the space is clear – in more ways than one. So, with a clear desk and work put behind me for a bit, my thoughts have turned to stocking up the kitchen. My daughter is returning home after traveling, my niece is arriving, my cousin and her children arriving (all next week) and one of the best things to have on hand is puff pastry. A good puff can take you anywhere and do anything. Now, I know. I hear you before you even say it – truly Jude, when do I have time to make puff? But truly, this recipe is so easy – the pastry spends most of it’s time in the fridge, resting. It demands very little from you. AND – once made, wow, do you save time. It will give you a variety of meals for very little work. So, here we go…
2 cups white/unbleached spelt flour
3/4 cup iced water
250gm unsalted butter – well chilled
1/2 cup white unbleached spelt flour, extra
Before we start: The most important thing about making this pastry, is to take care that the butter does not melt into the flour dough – it needs to be firm at all times. You are layering dough, butter and air, many times over. If, when rolling, the butter starts to soften and smear through, immediately put your pastry on a tray lined with baking paper, cover this with baking paper and put in the fridge until chilled (but not solid) again. It’s a great pastry to use in summer, but an easier one to make in winter. What do I do when it’s warmer? Make it early in the morning, chill my rolling pin and flour for rolling, and chill the pastry well between rolls.
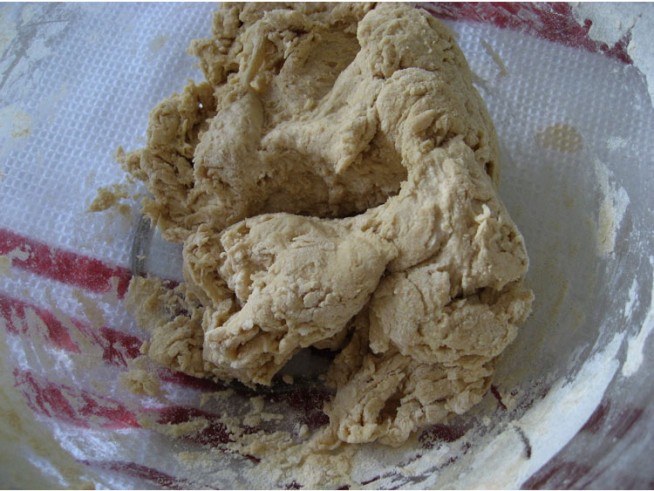
1: Place the flour in a bowl. Using a butter knife, gradually ‘cut’ the water into the flour. The dough should hold together, but not be at all wet – you will be surprised how the spelt ‘gives’ as it sits for a couple of minutes. (You might need to use 1 – 2 tablespoons more water, as different batches of spelt flour absorb different amounts of water. Form the dough into a ball – do not knead or play with it, and wrap in a tea towel, then flatten a little and chill in the fridge.
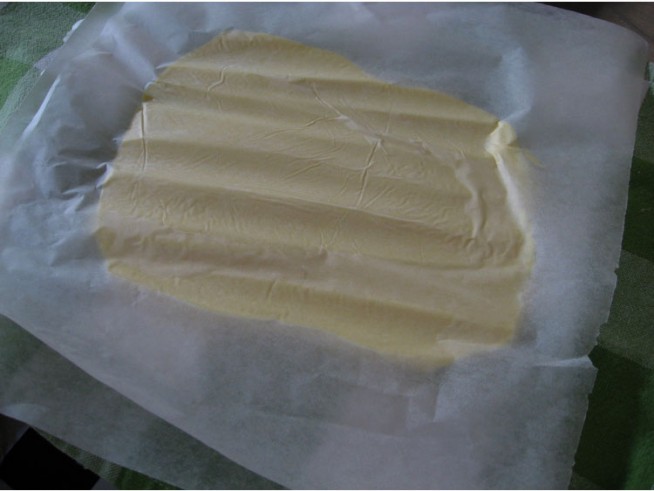
2: Place the butter between two sheets of baking paper and beat (gently) with a rolling pin until it forms a rough 20cm square – about 1cm thick. You may need to lift the paper from both sides from time to time, to release and allow the butter to spread. it doesn’t matter if the butter ends up more of a rectangle.
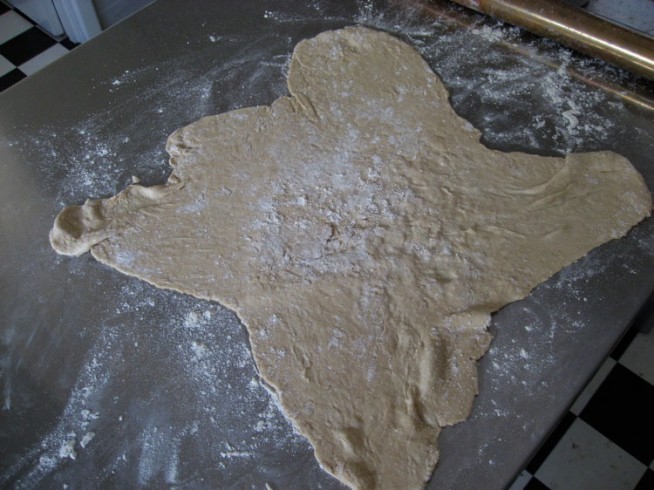
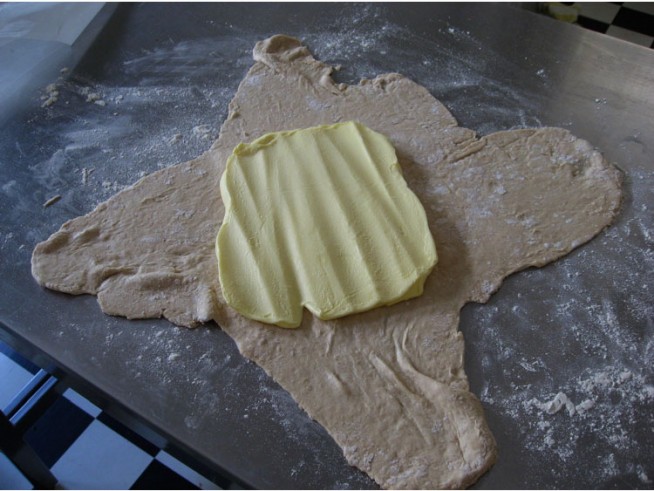
3: Return the butter, between the paper sheets to the fridge to chill for a bit. Put the extra in a bowl near where you will be rolling, to use for dusting. Place the dough on a floured work surface. Sprinkle a little four over the pastry and rolling pin. Roll the dough into a square, about 26cm – again, it doesn’t matter if it’s slightly rectangular. To prevent sticking, keep the pastry and rolling surface lightly dusted with flour, even turning the pastry from time to time. Starting from the centre of your square, roll out each corner to make an ‘ear’, creating a king of ‘cross’ shape.
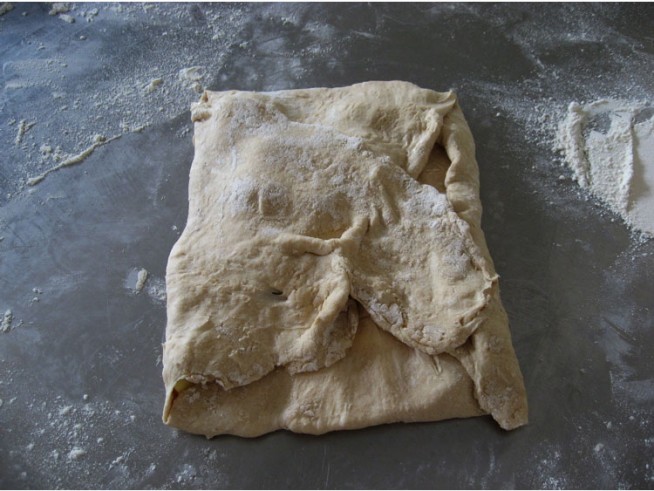
4: Remove one piece of baking paper from the butter and invert it onto the centre of the pastry. Remove the remaining paper, and fold over the pastry ears, so they completely cover the butter – you should need to stretch the pastry. They will overlap and that is fine. You should end up with a completely sealed parcel of butter. Pat the edges a little to make a nice, neat rectangle – the pastry should be right up against the butter. If the pastry and butter at this stage still feel cold and chilled, you can start to roll. if not, cover and place in the fridge to chill.
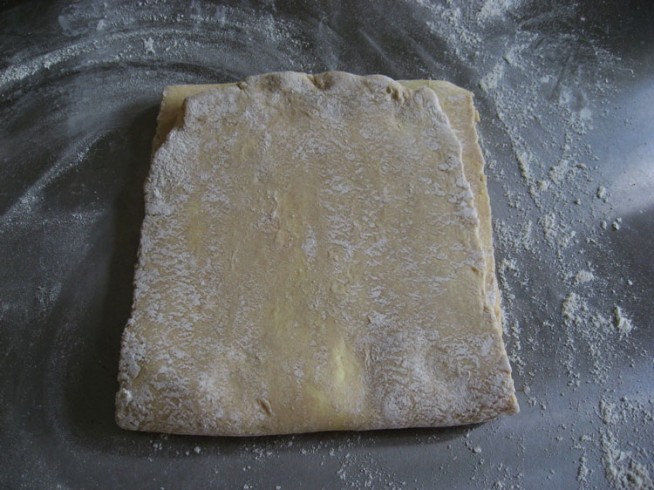
5: You are now commencing to make turns. (You’ll be rolling the dough lengthways, so make sure you have plenty of space.) Making sure your rolling surface and pin are dusted with flour, begin to roll out the dough lengthways. When the butter is very chilled, this might take a couple of times where you simply press along the pastry to gently flatten it evenly. As the pastry begins to ‘give’, continue to roll out until you have a rectangle about 67cm long and 24 – 26 cm wide. You are only ever rolling lengthways.
As you roll, you need to continually move the pastry and dust with the flour underneath and on top of the pastry. As you are moving the pastry, take care not to hold it for too long, as your body warmth will soften the butter. Work swiftly to prevent the butter softening. Try to avoid ending up with pointy, uneven bit at the two outside edges on the ends of the pastry, using the rolling pin to push (not press or roll) them back into a more even line. Otherwise you can incorporate the pointy ends into the fold (next step). You are now ready to commence the first turn.
FOLD THE PASTRY INTO THREE – the pastry up from the bottom, and down from the top. Repeat the rolling to make a rectangle about 67cm long, following the guidelines above. Fold the pastry as described, rotate so the closed fold is to your left, and mark it with two dents. This lets you know you have completed two turns.
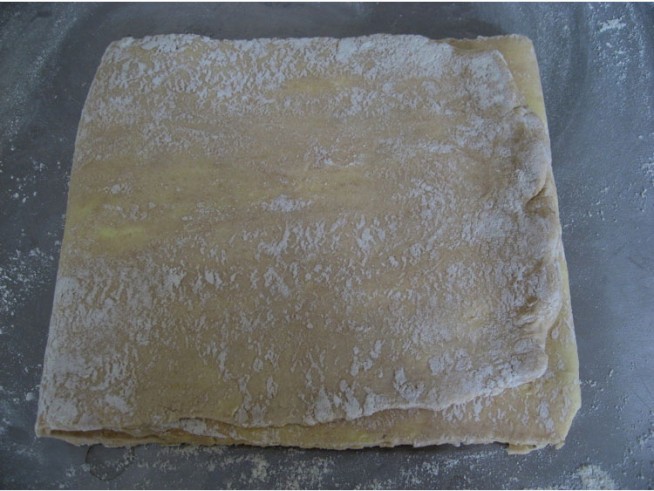 Rotated so the closed fold is to the left, ready for rolling again.
6: Place the pastry on a tray lined with baking paper, top with the baking paper (to avoid drying out) and cover well, so it doesn’t dry out. Place in the fridge to rest and chill for 2 hours. Repeat the above rolling and folding twice – you have now completed four turns. Mark the pastry with four little dents. Place on a tray lined with baking paper, top with baking paper and cover, sealing well. Chill in the fridge for another 2 hours.
Repeat the rolling and folding twice more – you have now completed six turns and the pastry is ready. Place on a tray lined with baking paper, top with baking paper and cover, sealing well so it doesn’t dry out. Place in the fridge to rest and chill.
You can now freeze the pastry, but I prefer to cut it into quarters and roll the pastry into four sheets ready for use, each about 24cm square. To roll keep the table, rolling pin and the top of the pastry lightly dusted with flour. Try to keep the shape fairly even as you roll, but don’t worry too much as you can trim it to shape later. The pastry should end up about 2 – 3mm thick. As each sheet is rolled, place it on a tray ( I use a cake cardboard) covered with a sheet of baking paper, with a piece of baking paper between each pastry sheet. Top with a sheet of baking paper, cover and seal well with plastic wrap and freeze, or use immediately.

